Pages

Showing posts with label Hobbies & DIY. Show all posts

Friday, July 25, 2014

I Tricked Out an Ampersand

Ever since Max and Caroline on 2 Broke Girls bought a giant light-up arrow for their cupcake shop, I've wanted one. The light-up thing, not a cupcake shop.


I'm quite taken with the mildly obnoxious, pseudo vintage, slightly hipster vibe of it. So, I shopped around - and by "around" I mean that I sat in my bed, online browsing until 2 am - and, to my dismay, found nothing satisfying (that I was willing to pay for). Weeks passed, then months, and I was ready to settle for a life without light-up wall decor. But then I went to a Hobby Lobby, a place that EVERY person needs to experience, and found the inspiration to make my own vintagey-hipster, light-up sign!

Things you'll need:
- Tin letter/number/symbol/silhouette of your late guinea pig named Randolf/logo
- Light string(s)
- Drill
- Scrap wood
- Decent forearm strength
- Electrical tape
- Sharpie
- Sewing measuring tape

Tin symbol from Hobby Lobby: $15 (on sale)
Battery powered LED light string from Hobby Lobby: $5ish
(I used three strings of 15 lights)
 Step 1:

Start by flipping over your symbol and measuring the inner circumference. Be sure to include any holes for things like A's, B's, &'s, @'s, etc. as separate measurements.


Calculate how many lights you'll need to outline the symbol. Remember to measure how much cord is between the bulbs on your light string! With a sharpie, mark (on the back side) the spot where each light will poke out.

Step 2:

Use your scrap wood as a stable, disposable surface to drill into. Now, if you are not a drill savvy person, you'll need to acquire a drill savvy person. And - here's a free tip out of the generosity of my soul - while you have said person around, you should take the opportunity to familiarize yourself with a drill. This will add to your skill set and work towards eliminating your need of friends.*

 
Drill Master Dad making this look very easy.
Drill Apprentice Kaite using her decent forearm strength to keep the drill straight and eventually force a hole through the metal.

It is very, very important that you find the right sized drill bit for the light holes. If the holes are too big, the lights won't stay in, too small and they won't poke through. If you aren't sure what size to use, start small and then enlarge as necessary. Once you've found the perfect fit, drill through each sharpie-designated point.


Step 3:

Once you've finished drilling the holes in your symbol, you can start with the lights! Poke the lights through the holes and secure them with electrical tape.


Step 4:

Light 'em up!

              
               In the dark.
Not in the dark.


*Your daily dose of satire.

Thursday, May 8, 2014

Staining My Clothes

Go to college and start becoming a grown up. That was the idea. And yet, I find myself suddenly rediscovering my childhood pleasures: Disney movies, coloring books, juice pouches, and TIE-DYE.

Before starting college, I hadn't tie-dyed anything in around ten years. And I probably would've continued that way except that I got a job where I have to wear either white or tie-dye and I got an RA with an enthusiastic passion for the stuff.
See, nice clean trays!
We're so neat and prepared!

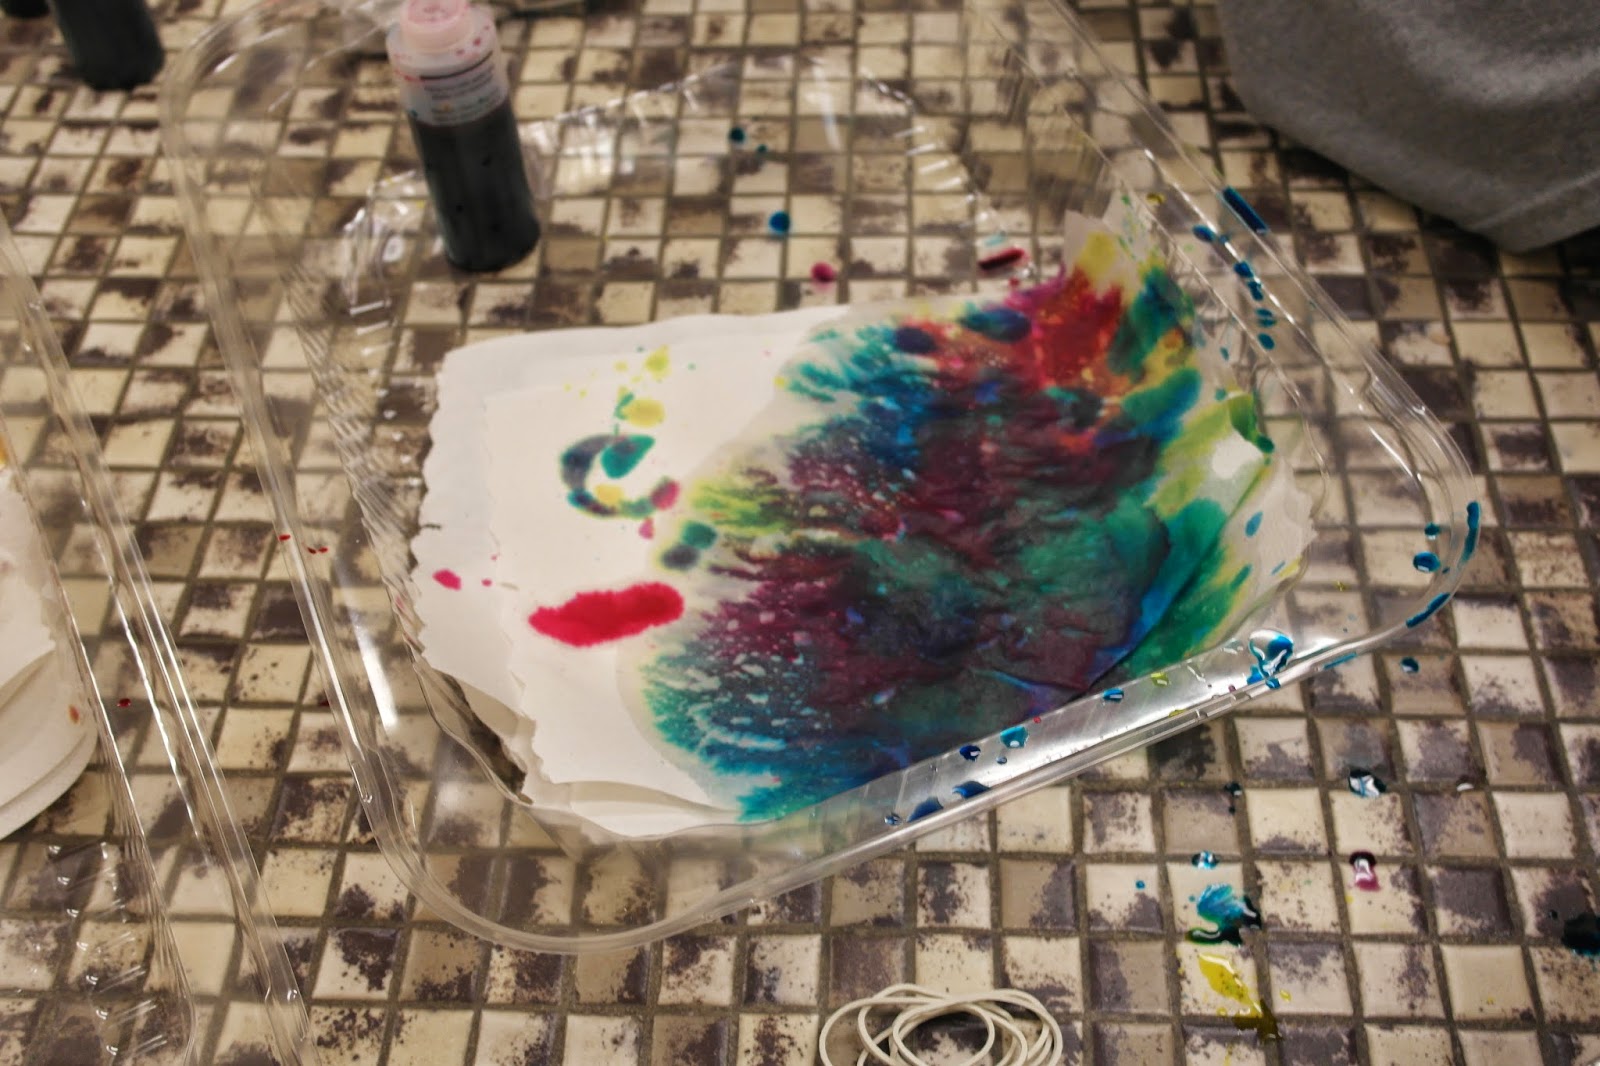
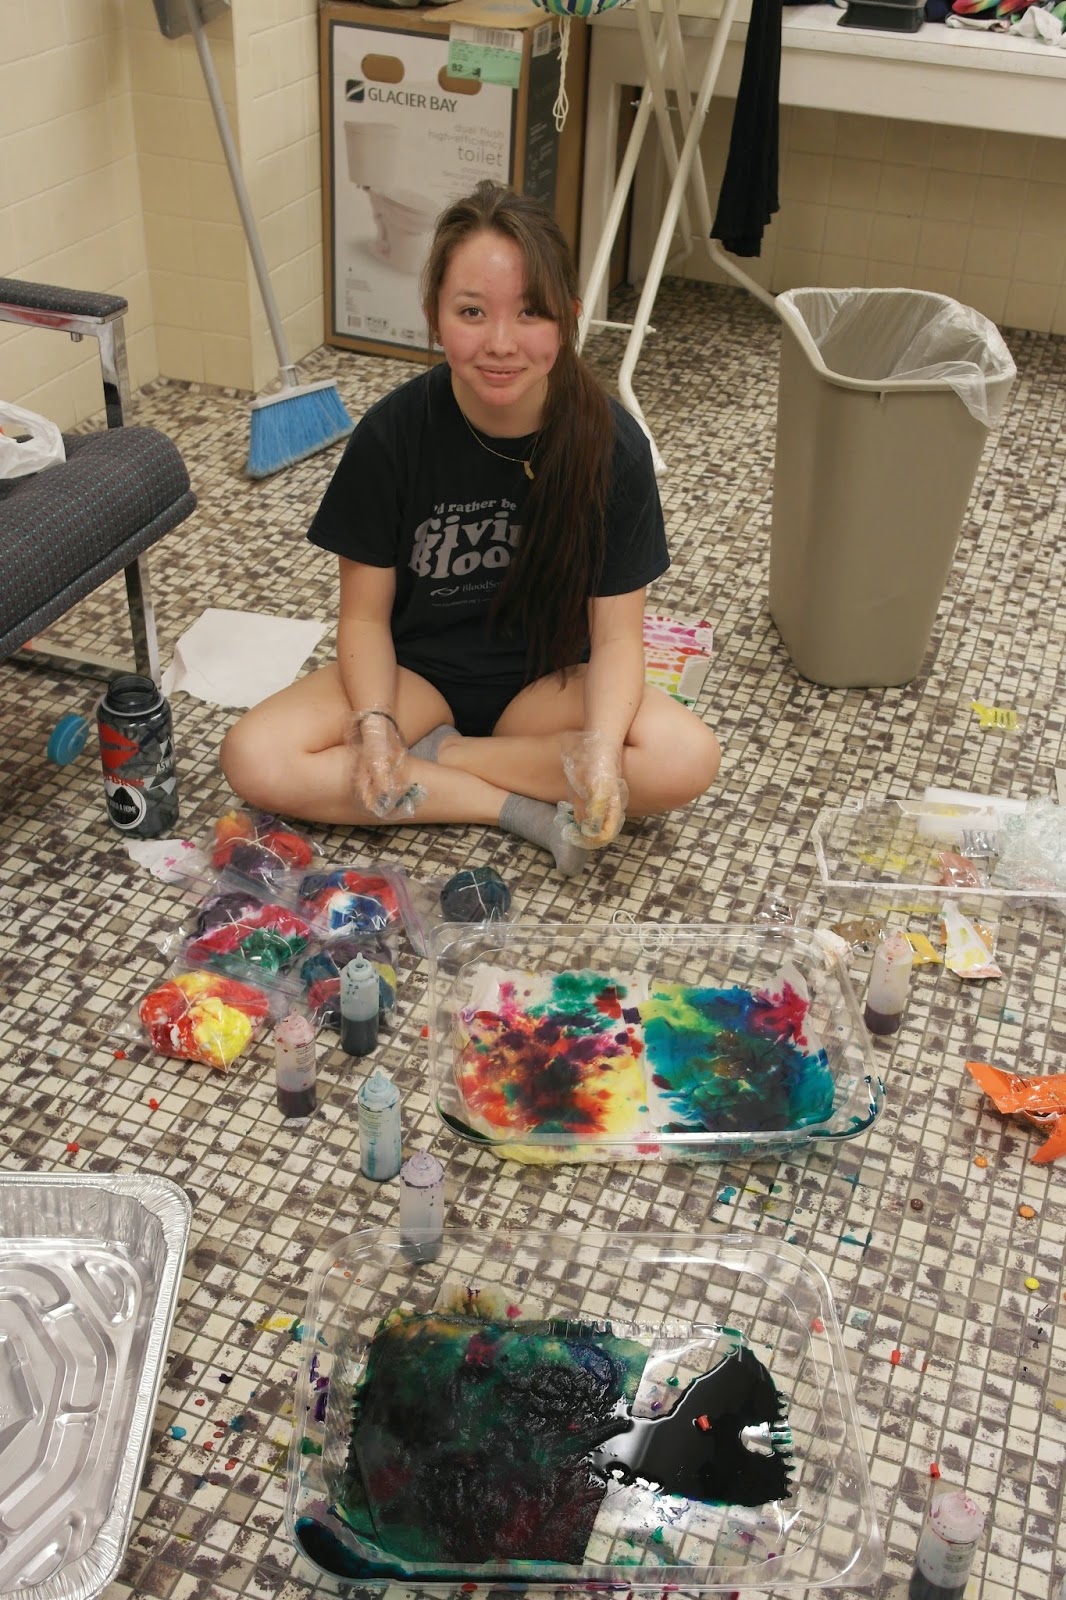
Last week, a couple of my friends and I spent Friday night making a mess in the laundry room. I mean, we used trays and had paper towels handy - we had every intent of being perfectly neat. But see, we're not pros at this and we laugh a lot so we jerk a lot. So, yeah, we spill a lot
too. 
Colors fly!
Then it begins.

But despite the incredible amount of dye all over the floor and all over ourselves, we had a blast. It's exciting, not really knowing how your project is going to turn out.

I haven't enjoyed myself so much in a long time. Between classes, essays, work, and sleep, there's not a lot of time left for fun. But I also realize that I should make time. Right after sticking her hands wet-concrete style into the tray of spilled dye, one of my friends says, "My parents would be so proud of me for doing something fun!" If that's not a sign that we need to live a little, then you need to get your eyes checked because that's a sign.

 Okay, so everything from my nails to my elbows will be spotted with dye for the next few days, but there is actually not a single reason for me to care. There's just something so freeing about deliberately staining my clothes.

Note the horrible color combo in my tray... Results to come.

We really did make a mess...

Just a few of the finished products!

This is what happens when your fuchsia mixes with your yellow...
Brown. Gross, stupid brown.


Wednesday, May 7, 2014

Bright Floral Letter

I recently embarked on a total room makeover. For a long time I have wanted a large letter "M" (for Madison, of course) incorporated into my decor. I think they are so classy and are a great way to portray your style. So, I decided to couple that desire with my love for Lana Del Rey and the flower crown. The product is a super bright and springy floral M that is a new focal point in my space.

I found the tutorial for this project over at The Sassy Life. Kaite and I created the masterpiece last Saturday afternoon when we were feelin' crafty. We changed very little from the original tutorial, except the material for the letter. We couldn't find a paper maché letter anywhere in town, so we made our own out of two pieces of foam board (This isn't advisable if you can find a pre-made letter. Ours was difficult to cut out.). I also added some ribbon around the edges, since they were not smooth.


I bought a lot of faux flowers. A lot. 


The next thing we had to do, of course, was take a bunch of photos of ourselves with the flowers. We had to get our money's worth, right?
  
Kaite's beautiful letter design.

So many flowers! Designing the layout was the best part.

Finished product. So cute!

Placed it on my desk. A cute backdrop for when I'm studying!

I think this project turned out pretty well! It looks so good! The best part is, it wasn't too difficult. It took us a good 3 hours, but the results are amazing and totally worth it. The whole project was under $50. That's still a pretty steep price, but fake flowers are expensive! I love having something that looks so bright and alive. Even though the flowers are fake, it's like bringing the beautiful outdoors inside. The best part is, the flowers will last year round! I have fallen in love with this project. 

Thursday, May 1, 2014

The Instant Comeback

If you are at all attentive to social media, you've heard: the instant camera is back.

I know, I know - I'm late to the party.

Ever since the Fujifilm Instax Mini 8 started popping up on my tumblr feed, I've been in deep want. And then Ariana Grande got one. And then my roommate got one. And then I was feeling left out. So I got one. And can I just say: best decision ever.

I love it! It's so much fun and it's so easy. What I want to know is why instant cameras ever went out of style in the first place. Who decided that the emergence of digital cameras meant we had to put the good ole' Polaroid on a shelf to sit and look vintage?

One of my favorite things about an instant camera is that it forces me to think about every picture I take. There are no redos. You can't delete them. Sure, you can throw them away, but, uh... I SPENT AN ENTIRE DOLLAR ON THAT. So, no. I won't be tossing any "bad" photos. And I'll be glad for that down the road. Every "bad" picture is probably a good memory. And who'd want to throw one of those away?

The memories I've caught with this camera are some of the best ones I've made during my young college career. My roommate and I use little clothes pins to hang them on a hemp string above our desk (I won't argue if you now think of us as Hipsters 1 and 2). It's a great way to add some interest to your room and give you a nice dose of happy flashbacks when you're cramming for finals. We caption and date each picture and I can't wait until I'm 47-years-old and my teenager pulls out a stack of these and I get to tell them the story behind each one. Sidenote: If my kid doesn't do this, I will be very disappointed.

There's a pretty good selection of instant cameras to choose from (check out Amazon). And not just Fujifilms - it's not commonly known as a "Polaroid" for nothing. I chose the Instax Mini 8 because I wasn't looking for anything fancy and also because the camera itself isn't too pricey - the film is where it hurts. If you buy film from a store it's usually $1 per shot. That's a lot to ask of a college kid. But if you do a little shopping around online, you can find some better deals. If you're of the artsy-hipster variety, I'd suggest the Fujifilm Instax Mini 90 Neo Classic. It's pretty rad. It also costs twice as much. But, hey. You do you.

Really, though. I'm stoked instants are back and I hope they stick around for a bit.